[Go to the main Manifoil page]
Dismantling the Manifoil Mk4 Combination Lock
For some reason, my Chubb Manifoil combination lock had had its wheels glued together and the fence sawn off the lever. This meant that it worked using just the two drive cams. As these can't have their gates altered, the combination would always be 50,50 (or 0,0). For this reason I wanted to take the lock apart to make it work properly.
Taking the lock apart is easy - all you need to do is lift the parts off, or sometimes slide c-clips off. The only slightly hazardous part is taking the rollers and lever off, as the springs might fly into your eyes. If you are doing this yourself, it is sensible to make a note of the order in which the parts are removed. The reassembly page has how to put the lock back together.
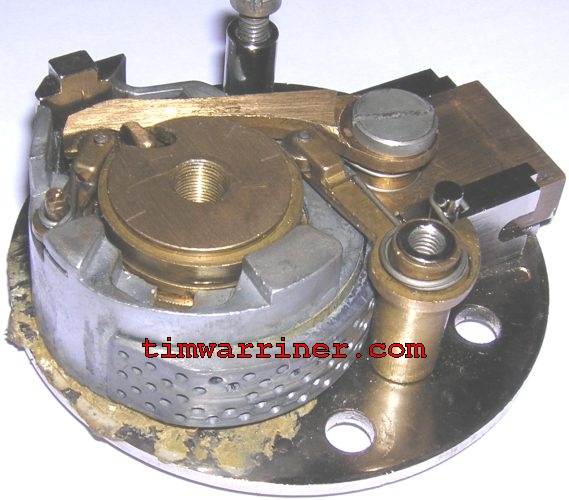
This is how the lock appeared to start with. You can see the glue round the base.
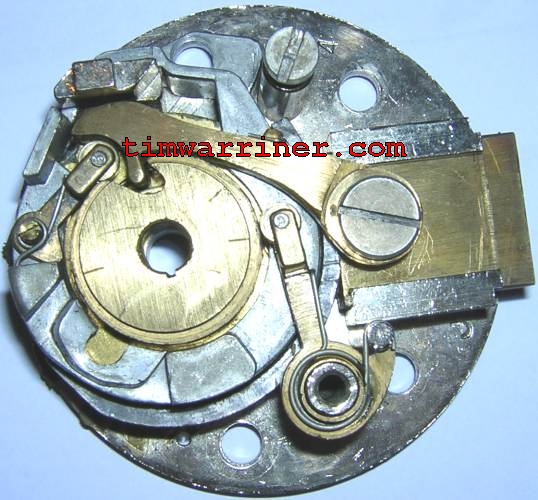
Here you can see the lead shield that (as far as I know) hides the wheel pack from x-rays:
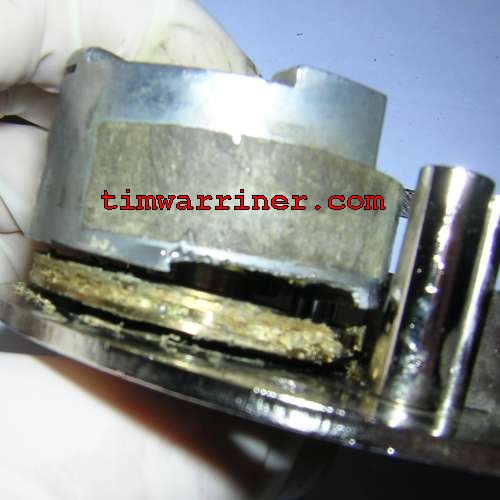
The next picture shows the amount of glue that the lock was covered in. Note how the change key holes have been filled in too.
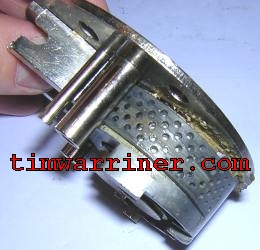
In this picture, you can see that the bottom of the wheel pack cover has had a part broken/sawn off for some reason. It is easier to remove the wheel pack cover if the gates are aligned, but I am not sure why this is.
The wheel pack. I prised the wheels slightly apart. Before doing this, they were glued together completely.
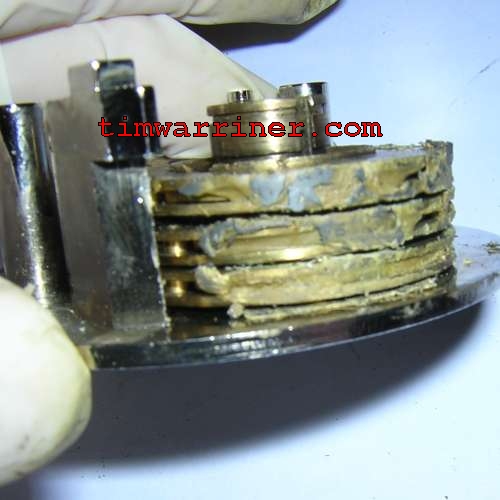
More wheels. The glue used was rubbery but stuck well to the brass. The only way I could remove it was to pick it off using dentistry tools. Due to its rubbery nature some of it could be peeled off. If it had been a harder, more brittle glue it would have taken hours to pick all the bits out. [With hindsight, I think the glue was actually something like Gripfill or No More Nails.]

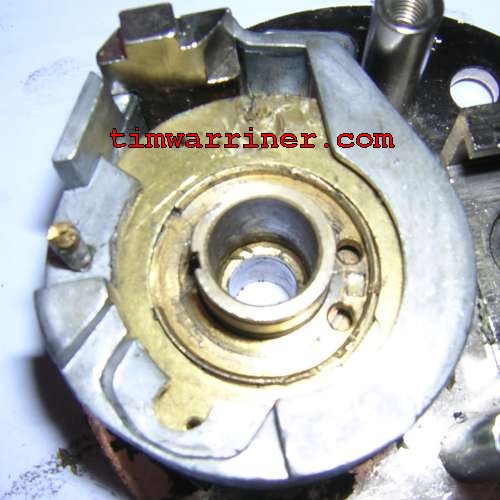
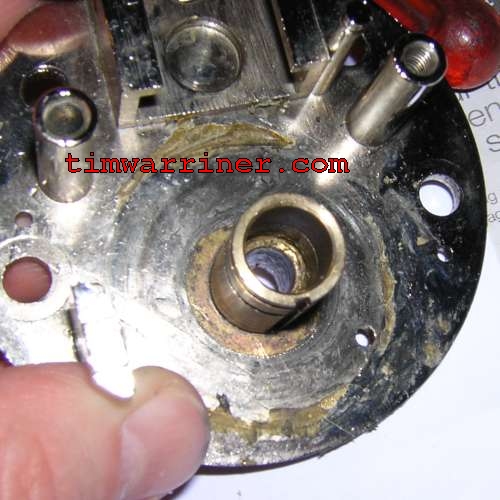
The base:
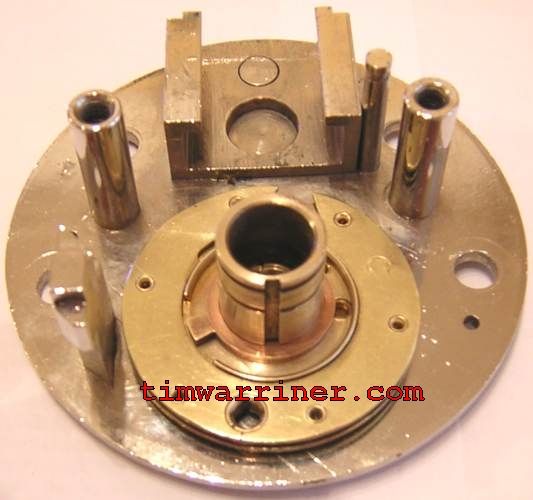
This is the first wheel and the base after I had removed the glue, and used wirewool and Brasso to clean them up. (I also photographed it without a flash so it looks brassier than in the previous two pictures).
[Go to the reassembly page]
[Go to the main Manifoil page]
[Contact]